Scanning Acoustic Microscopy (SAM)
In the case of Scanning Acoustic Microscopy (SAM), a focused ultrasonic wave is used as a pulse and introduced into the sample via a coupling medium (such as water, oil or gel). In principle, measurements are possible on the basis of reflection as a part is thrown back at interfaces. As the difference between the acoustic velocities of the materials forming the interface increases, the reflected portion of the sound pulse increases as well. The sample is scanned and the reflected signal is then used for imaging.
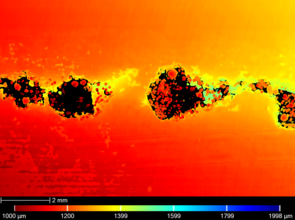
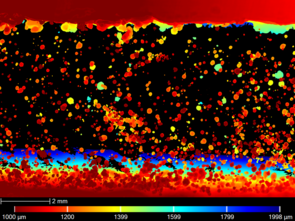
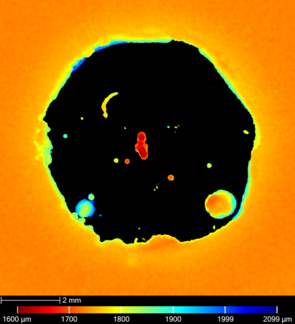
The advantage of Scanning Acoustic Microscopy is the non-destructive testing of materials and components with an information depth of several millimeters to a few centimetres. By means of this, defects below the surface as for example in welded joints or lacquer systems can be represented. Specific signal and image processing methods allow an early identification of damage which is still not perceptible visually by means of lightmicroscopy. In addition, Scanning Acoustic Microscopy can be extended by other techniques such as Infrared and Raman microscopy in order to obtain comprehensive results.
Applications for Scanning Acoustic Microscopy are predominantly imaging investigations of planar structures:
- Mapping of surface profiles
- Determination of layer thickness
- Measurement of concealed or inaccessible structures
- Testing for material defects, e.g. inclusions, pores and/or cracks
- Proof of delaminations
The following components and materials can be investigated using Scanning Acoustic Microscopy:
- Components such as sensors, wafers, chips, encapsulations, e.t.c.
- Composites (e.g. lightweight parts) based on polymers
- Planar structures (e.g. photovoltaic modules, laminates, etc.)
- Coatings and varnishing systems (e.g. cathodic dipcoats)
- Analysis of adhesives and glue joints (e.g. with respect to air inclusions)
Parameters of our Scanning Acoustic Microscope:
- Test frequencies: 15 - 150 MHz
- Resolution: < 20 µm
- Penetration depth: Depends on material and test frequency
- Measurement mode: Pulse echo
- Scan area: x,y; 320 mm x 320 mm


